Garlic is one of those vegetables that we either love, or love to hate. And for those of us who love the pungent little alliums, tasting your first homegrown garlic can easily be a life changing experience.
You see, the garlic that you purchase at most grocery stores have often traveled over seas or at a minimum hundreds of miles. By the time they reach your plate much of the flavor has started to fade. And, even if those little bulbs were freshly picked, they tend to be a variety of garlic that is chosen for appearance, longevity and ease of transport, rather than flavor.
On the other hand, garlic grown at home or by a local grower will almost definitely be a variety chosen for its flavor characteristics. Have no doubt, once you’ve tasted the difference you’ll never want the grocery store bulbs again.
It turns out that garlic, unlike its sometimes finicky cousin the onion, is surprisingly easy to grow. Let’s walk through the steps and learn how to grow your own garlic.
Step 1. Hardneck or Softneck? What kind of garlic should I grow?
For the most part garlic is divided into two types, softneck and hardneck garlic. Softneck garlic has, well, a soft neck or stem and tends to produce smaller cloves at a greater number per bulb or plant. The hardneck varieties, you guessed it, have a woody and stiff stem with bulbs that tend to be larger but have fewer cloves than a softneck.
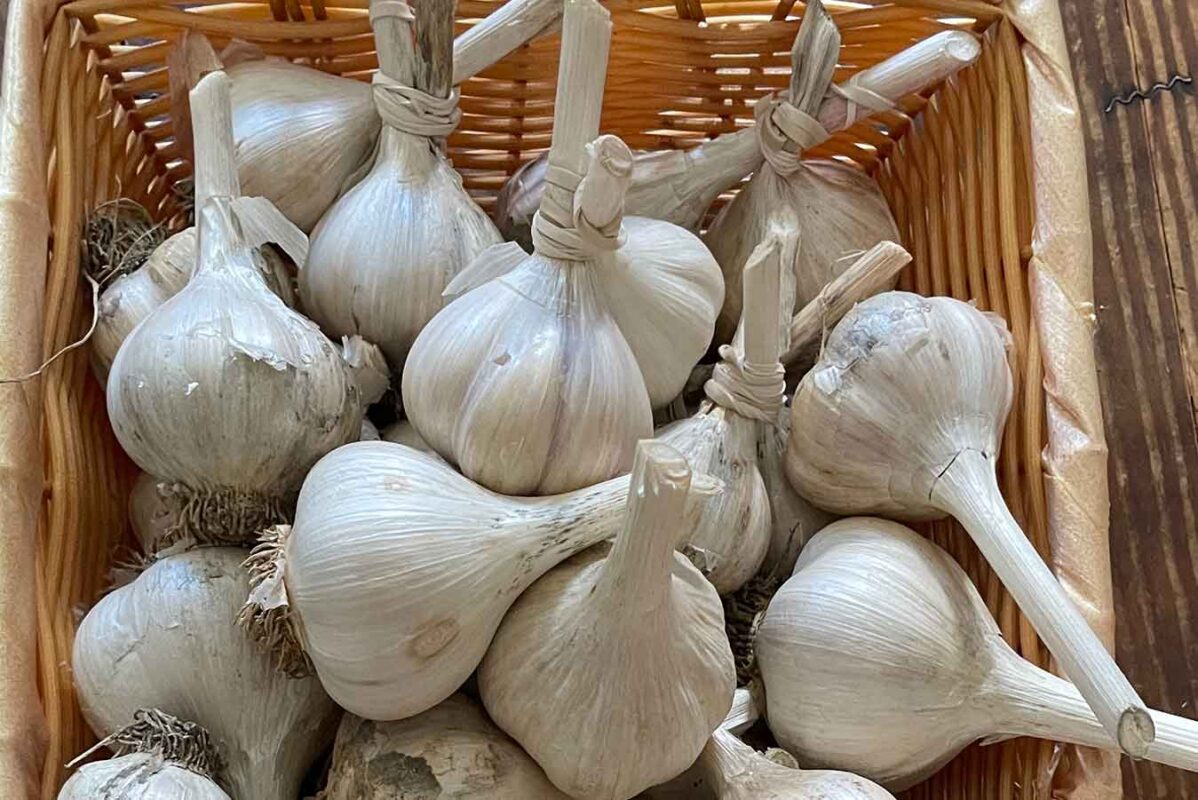
The choice of which to grow is pretty straightforward. Hardnecks are more cold hardy while softnecks can tolerate more heat. So if you live in the Northern US you’ll want to choose a hardneck to grow, while those in warmer climates should go with a softneck variety. If you’re lucky enough to be growing in a middle latitude you’ll have the fortune of being able to grow both!
Step 2. Buy high quality seed garlic. Where do you buy seed garlic?
Can you just buy a bulb of garlic at the grocery store and plant its cloves? Yes, but most of those bulbs have been treated to prevent sprouting during transport which also means they’ll be slower to get started in your garden. You’ll also be missing out on the diversity of flavor you’ll discover in a new variety you won’t find in the store.
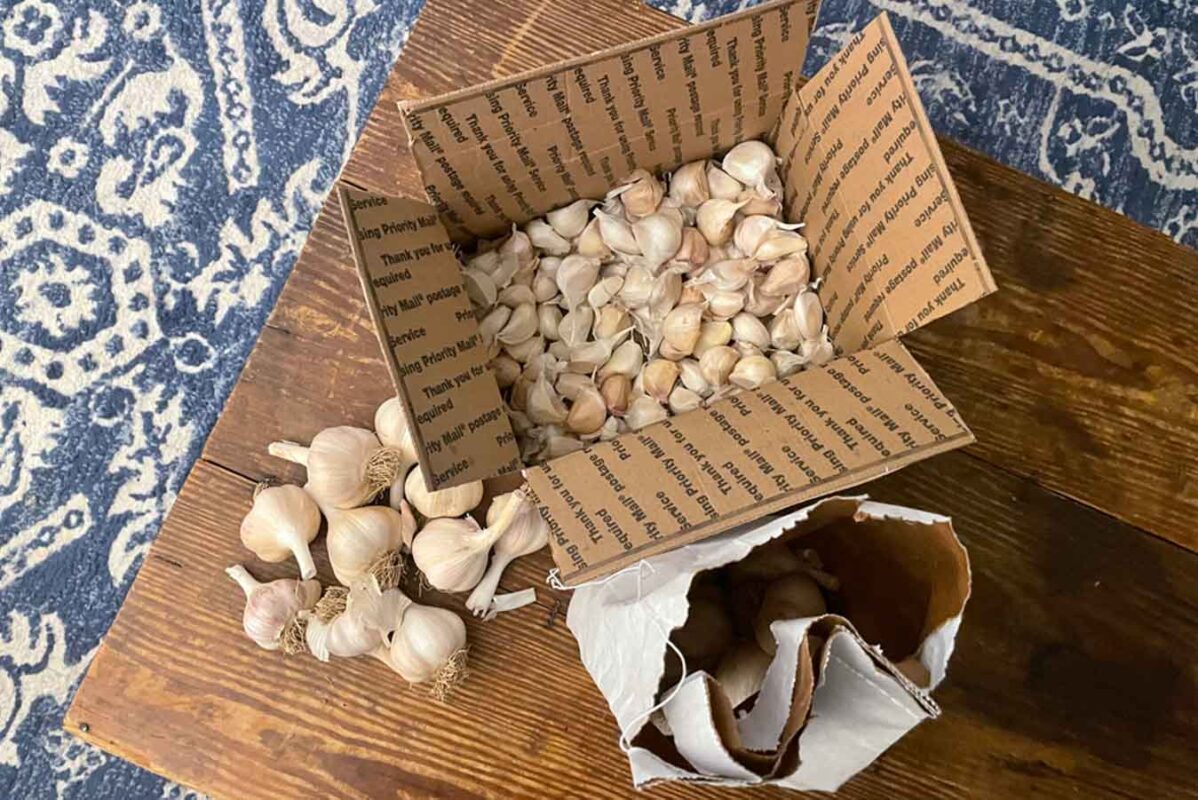
The answer to sourcing good seed garlic is just an online search away. Make sure you’re buying seed garlic which is tested to be disease free and tend to be the larger bulbs from a harvest which in turn are likely to yield larger bulbs in your garden.
We purchase our seed garlic from Keene Garlic based out of Madison, Wisconsin and have been really impressed with the quality, customer service and pricing.
Step 3. Prep your soil. How to prepare our garden for growing garlic.
Like most things you grow just a little time spent prepping the soil will lead to healthier plants, greater harvests and less disease pressure thanks to stronger plants. Amending your soil with compost or an organic fertilizer, especially fertilizers that contain extra phosphorus, will help these heavy feeders bulb up nicely. But perhaps most importantly make sure to loosen your soil with a garden fork, broad fork, or the often controversial rototiller to make sure the plants will thrive.
Step 4. Divide the bulbs into cloves. How to prep garlic for planting.
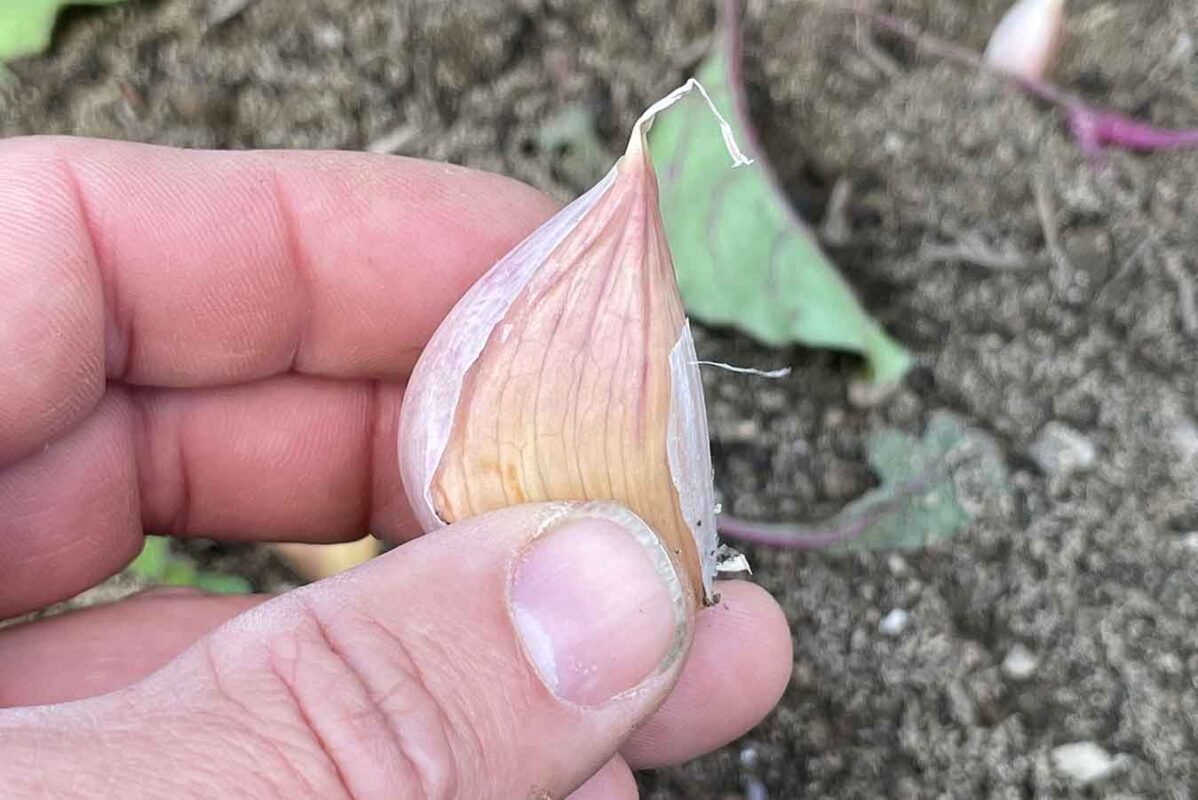
Each garlic bulb contains several individual cloves inside of its first few layers of papery covering. You’ll need to carefully separate the cloves from each bulb, because each clove will grow into a bulb of it’s own! I’m a firm believer that the husky skin that each clove has around it helps protect it in the ground and prevent rotting before it sprouts, but I’ve seen in person that even a clove accidentally skinned of that covering is likely to grow and thrive.
Step 5. Point to the sky… plant those cloves! How to plant garlic.
Timing is important as technique when it comes to planting garlic. One of the cool things about garlic is that just like a flower bulb it needs to be planted in the fall because it’s going to grow all winter for an early summer harvest. There aren’t many things that will grow and stay green during winter in the vegetable garden so it’s nice to have a large crop of garlic keeping the beds busy in the typically barren winter.
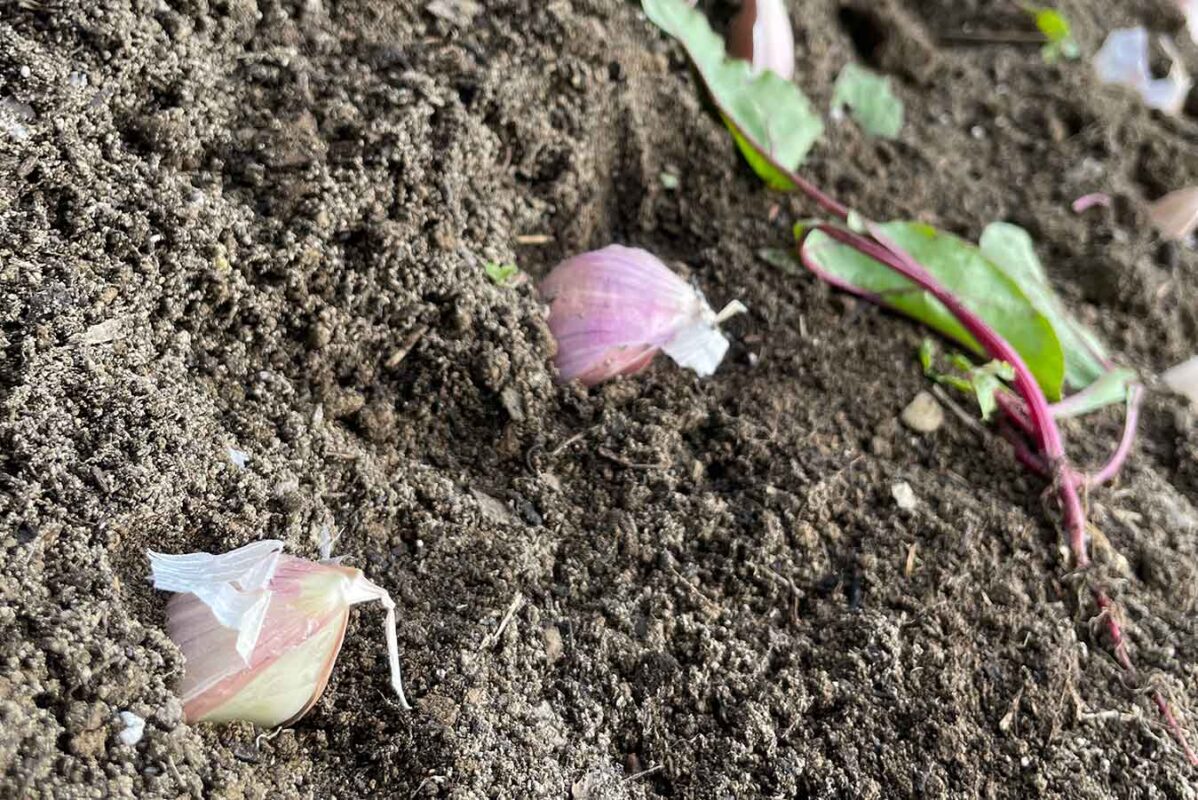
The planing itself is fast and easy. Just make sure that the pointed tip of each clove is on top and the flat base, that will become the rootball is on the bottom when you place them in the dirt. If you’re soil is soft you can gently push the cloves about an inch under the soil, or if necessary you can create a hole with your finger, a garden trowel or even a stick or dibbler. Then push the soil back over the clove. We like to mulch our cloves with straw for added winter protection and weed control in the coming year, but that’s completely optional.
One last tip, give each clove a couple inches of space all around to make sure there’s room to bulb up. And now… we wait.
Step 6. Early harvesting of tasty treats. What are garlic scapes?
Before full garlic bulbs are ready to harvest you’ll get a chance to enjoy some lesser known delicacies. The first is available to growers of both hard and softneck varieties – green garlic! If you have any thinning you need to do because you planted your cloves too close. Or, if you just can’t wait a few another month or two green undeveloped garlic can be harvested and used like green onions in your meals.
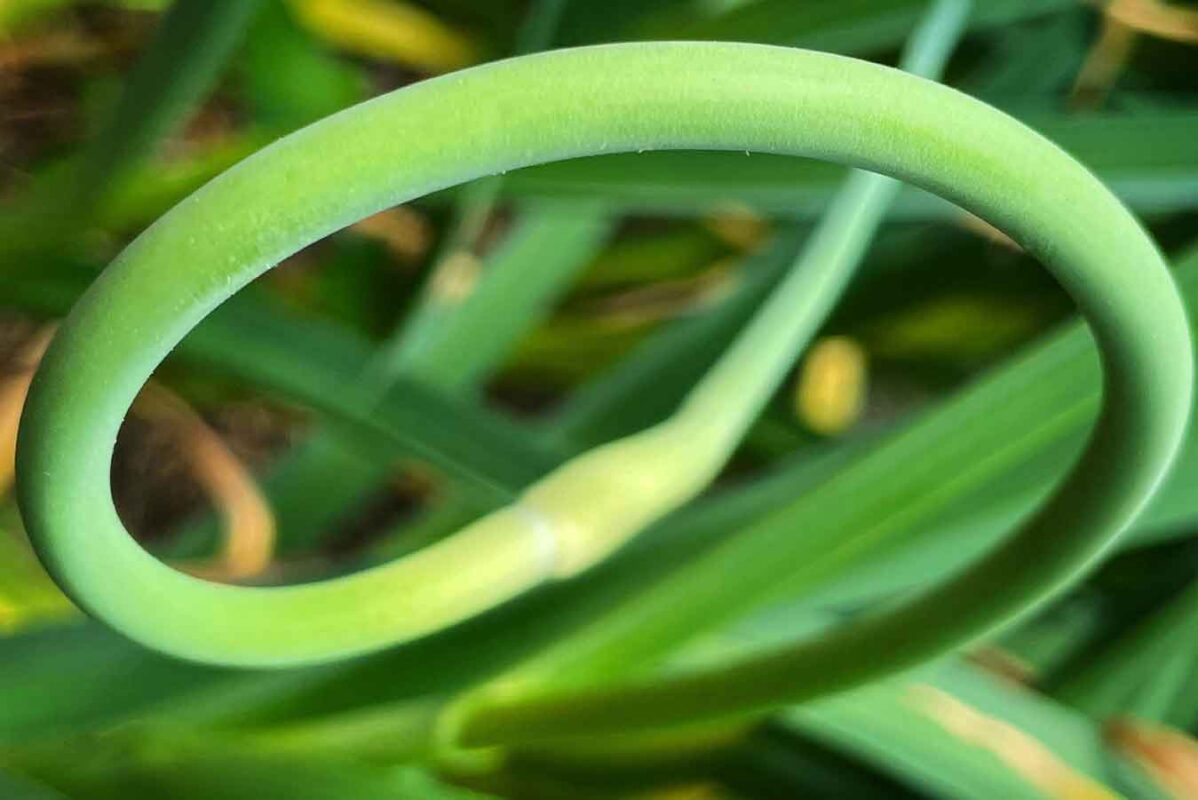
The second early harvest opportunity is reserved for the hardneck garlic growers. In the spring these garlic will send off a tall shoot with a small teardrop shaped flower bud on top. This is known as a garlic scape. If left to grow it would develop into a flower, and along the way it will be using the nutrients stored in the bulb below ground (that’s your garlic harvest) to fuel its growth. It’s widely thought that harvesting these scapes will help increase the size of your harvested bulbs, plus they are used in a wide range of dishes like the ever tasty garlic scape pesto!
Harvesting them is easy. You can either cut them off an inch or two above the tallest set of leaves, or if you’re brave in your gardening you can gently, but firmly pull straight up on the scape until it audibly pops off the plant.
When is the time to harvest garlic scapes? The answer is easy. Towards harvest time the scapes will begin to curl into a circle, looking a lot like a pig tail (think animal, not hairstyle). When the scapes have turned a full 360 degrees it’s harvest time. Enjoy!
Step 7. When do you harvest garlic?
Garlic has a neat way of letting you know that it’s ready to be harvested. The leaves above ground make up the protective papery wrapper of the garlic bulb below ground. It’s not an exact science, but in general when the first couple pairs of leaves have dried and yellowed at the bottom of your plant it’s time to dig the garlic bulbs. Some people will stop watering the garlic about a week before they plan to harvest to help dry the bulbs out. It’s also a good idea to dig a test bulb when you see the bottom leaves start to brown to see if the harvest is ready.
Don’t wait for all of the garlic’s leaves to yellow and dry, this may cause trouble for storage and longevity because the garlic may continue into its next cycle of life, where the bulbs separate from the clove and prepare to send off shoots of their own. This separation will make the garlic nearly impossible to dry, clean and store. Nature, or should we say “neature’s” garlic protecting wrapper has been damaged at this point.
Step 8. Positive leverage. How do you harvest garlic?
For the rare and lucky that have the incredibly loose, fluffy, rich in organic matter garden soil that we all aspire to you may be able to pull the garlic up at ground level by the stalk. Don’t. You may get away with this strategy, or you may damage your bulbs by breaking off the stem.
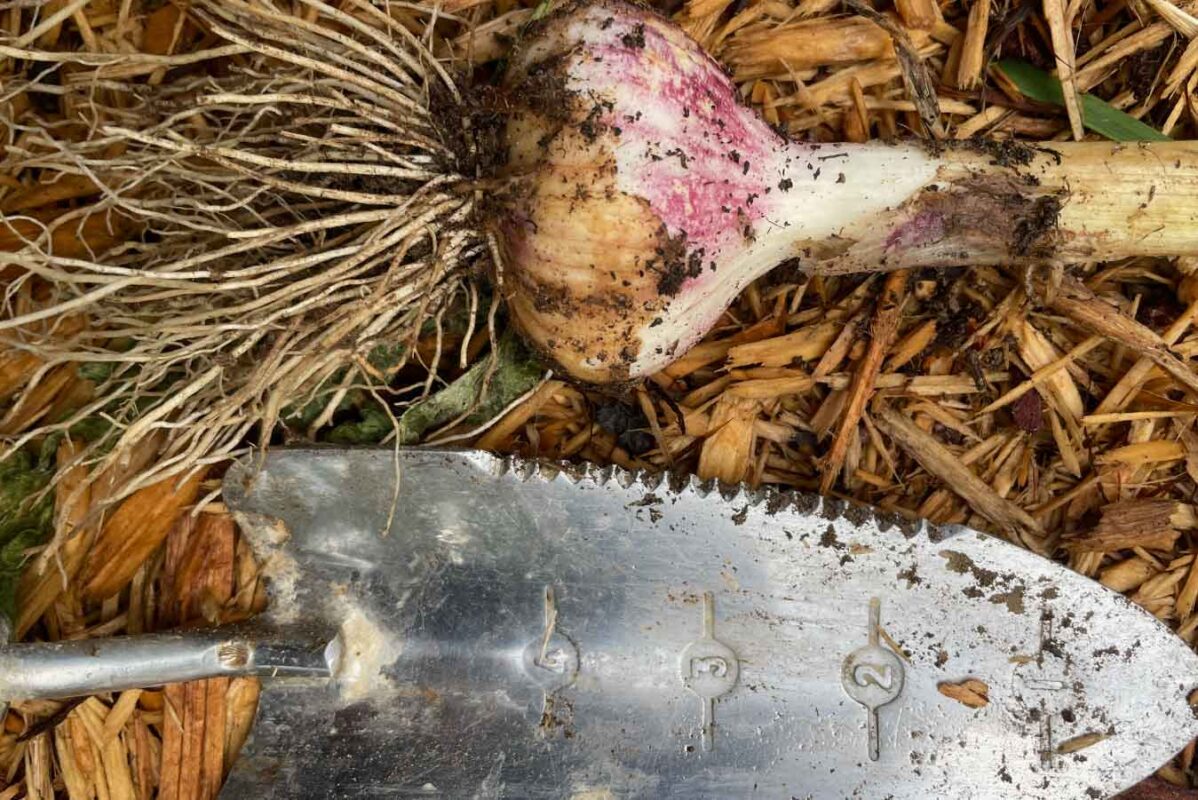
Instead, use a little leverage. Grab a garden fork, spade, trowel or similar tool and push it into the soil a couple inches away from the stem working to avoid the bulb’s outer edge. Then gently lever away from the bulb to lift the bulb and release their roots grasp on the soil. I’ve often been surprised at how wide the root ball of each bulb can spread, and how strongly it will resist being pulled from the soil.
Step 9. How to store your garlic.
Congratulations! You’re about to experience one of the most incredibly gardening rewards, the taste of freshly harvested garlic. You’ll probably be shocked at how tender and full of flavor these cloves will be. You’ll also likely to be amazed by how much garlic you now have to eat. No worries, garlic storage is easier than you think. Here’s how to do it.
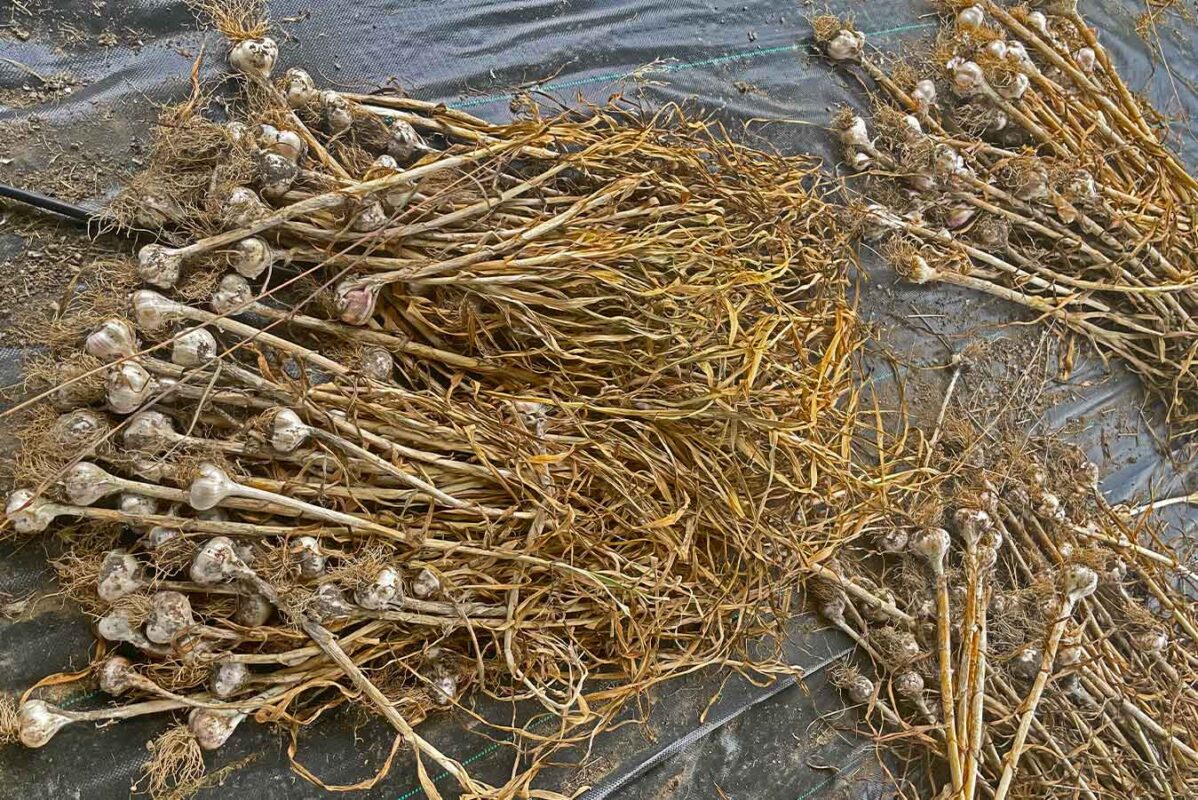
Drying your garlic is key to a long storage life. With a little bit of care your harvest will last you until following year’s harvest. Nature has provided us with the perfect wrapper for our bulbs! It’s the papery covering created by the base of the plant’s leaves that will dry around the bulbs locking in moisture and protecting the cloves from mold, mildew and pests.
There are many ways to dry your garlic for storage, and many are right or even better than my methods, but this is my way! First, I take care to pull the cloves when we’re going to have a few days of dry, warm weather. I’ll typically lay the plants down on their side in the bed where they were harvested for a day or two. By layering the plants in rows you’ll protect almost all of the bulbs from any moisture that may be in the soil. About halfway through the process flip all the bulbs for even drying.
Once the soil that remained on the bulbs has dried shake off what you can, but don’t try to remove every little grain of dried soil. It won’t hurt a thing at this point. But whatever you do, don’t knock the bulbs together or bang them on a shovel or raised bed to release the dirt, this could very easily damage your garlic.
Now it’s time to move your cloves, stalks and all, into a dry warm area away from direct sunlight. Too much sunlight will literally cook your bulbs and they will not store.
This is a good time to cull out any bulbs that were damaged or that have lost their papery covering. You can trim the stalks off of these and bring them into your kitchen to be eaten asap.
The key to curing garlic store it somewhere out of direct sunlight, and with good airflow, where they can be spread out or hung individually to dry. I’ve had success keeping them under our carport, or bringing them into our enclosed porch.
You’ll find many very detailed and informative articles about ideal temperatures and humidity levels and to be clear these likely are the prime ways to optimize your garlic curing. But let’s be honest, garlic has been preserved successfully for hundreds if not thousands of years without trying to control these factors. To keep it basic, spread out your plants, keep them dry, in the shade, and with good air circulation.
In a couple of weeks you should find that the stems of hardneck garlic have become stiff and stick like and the soft neck garlic will shrink but remain flexible. At this point I’ll cut the stalk off of hardneck garlic leaving about 1-2 inches of stem above the top of the bulb. If the inside of the stems are still very green on the inside when cut, I let them dry a bit more.
Softneck varieties can be trimmed in the same fashion, or if you’re feeling crafty you can braid your garlic for hanging. These also make a beautiful wall hanging in your kitchen, as well as a convenient dispenser for the bulbs, but it cautioned that the head and humidity of cooking will often shorten the storage life you your harvest.
Step 10. Never buy garlic again! How to save your garlic harvest to plant next year.
Did you know that you can save your own garlic harvest to plant the following year? This is really incredible because if you have the space to grow, and estimate your garlic usage for the year correctly, you may never have to buy garlic again. Now how’s that for self sustainability? Honestly, after you taste garden grown garlic you’re never going to want grocery store garlic again. It’s just not the same!
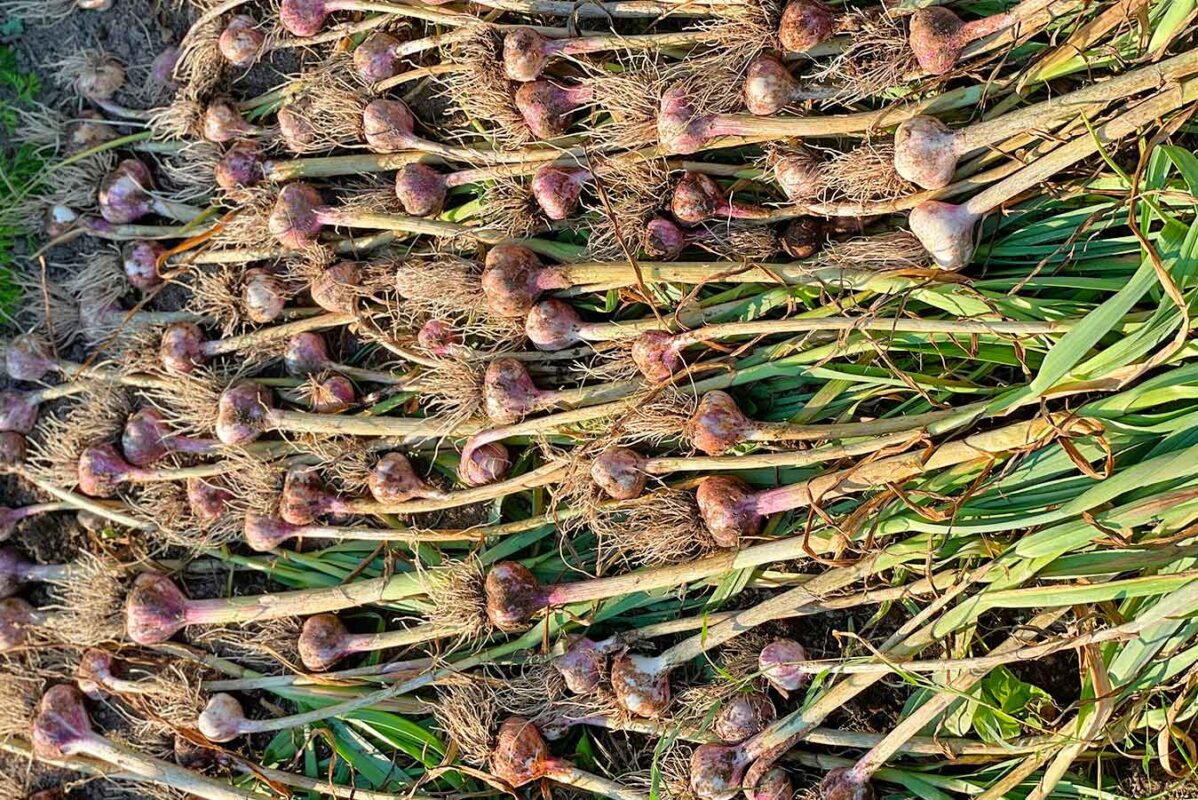
The bulbs you prepped for storage are now ready to be next year’s seed stock as well! The trick is to make sure you choose bulbs that are large and healthy. Most people agree that larger bulbs, with larger cloves, lead to larger crops. It’s also important to select the bulbs with thick, undamaged papery coverings. If the cloves themselves have been exposed they are less likely to store well until planting time in the fall.
Now here is what I think is the most incredible benefit to saving your own seed garlic. (I know, I know, these aren’t technically seeds, they’re bulbs and allowing garlic seeds to produce would be a much longer process. We’re skipping steps here.) Back to the incredible. Saving garlic from your own harvest, and replanting it, will allow you to develop a strain of the garlic variety that is adapted to your garden or farm’s specific growing conditions.
Think about that! I worked for a farmer that had been saving his own seed garlic for decades, and I can tell you those bulbs were nothing short of amazing! So should you be lucky enough to find a local source of high quality garlic that has been grown in your region for many years you’ll be starting off ahead. If not, it’s never too late to start saving the best of your harvest for next year!

